Quick and Easy HTML for When Your WordPress Blog Post’s Formatting Gets Fubared
If you craft your blog posts in the Visual Editor in WordPress, I’m guessing you’ve occasionally encountered moments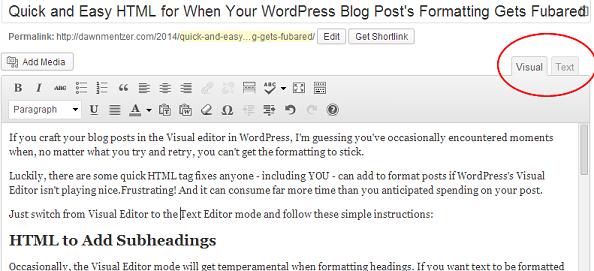 when, no matter what you try and retry, you can’t get the formatting to stick.
Frustrating! And it can consume far more time than you anticipated spending on your post.
Luckily, there are some quick HTML tag fixes anyone – including YOU – can add to format posts if WordPress’s Visual Editor isn’t playing nice.
Just switch from Visual Editor to the Text Editor mode and follow these simple instructions:
HTML to Add Subheadings
Occasionally, the Visual Editor mode will get temperamental when formatting headings. If you want text to be formatted as h2 or h3 etc. and get weary from haggling with the Visual mode, here’s how to remedy the problem:
Using h2 as an example…
Go into the Text Editor and add <h2> before the text you want to be formatted as an h2 and then add </h2>* at the end of the text you want formatted that way.
Here’s how the above h2 content looks in the Text Editor of my post: <h2>HTML to Add Subheadings</h2>
For h3 and h4, do the same, but replace with <h3> </h3> or< h4> </h4> for those levels of subheadings.
*Always place a backslash ( / ) before the h in your second set of chevrons (< >). If you don’t, the text after your subheadings will also be formatted as a subheading.
HTML to Create a New Paragraph
Here’s how to separate paragraphs in Text mode if the Visual side of WordPress is putting up a fight:
Type <p> directly in front of the first word in your new paragraph and then </p> at the very end of your paragraph.
<p>Your paragraph will look like this in the Text Editor. Not too tough, right? After the punctuation at the end of your paragraph is where you will close it.</p>
HTML to Add Space Between Paragraphs
Thank goodness for this one…I lost count of how many times I hit return in Visual mode to add an additional space between paragraphs, saved my draft, and then previewed my post only to find the space disappeared.
By entering the below code directly after or underneath the paragraph where you want the extra space, you’ll essentially be adding a blank paragraph to create the white space you’re trying to add.
<p> </p>
HTML to Add a Line Break
If you’re trying to separate a piece of text by moving it to the line below it (without making a new paragraph), simply add:
<br> after the last word that you want to remain on the original line.
I’ve done it here,
so you can see how it works.
Notice I have the <br> tag after the words “here,” and “works.”
HTML to Add Font Features
You can add some quick code to format your font, too.
<b>bolds text</b>
<i>italicizes text</i>
<u>underlines text</u>
Tip: If the mere thought of going into HTML land makes you break out in hives or into a cold sweat; fear not. You can stay in the Visual Editor and accomplish font formatting without having to enter HTML coding.
Just highlight the text you want to format and use the applicable keyboard shortcuts:
Ctrl + b (to make text bold)
Ctrl + i (to italicize text)
Ctrl + u (to underline text)
Some final advice…
You might notice after you add code into the Text Editor, if you leave it to view your post in the Visual Editor and then go back into Text, things might looks different than they did before. For example, where I entered <br> for those line breaks we talked about earlier, the Text Editor no longer shows “<br>, but instead displays the text with the line breaks as you see them live now. I really don’t know why that’s the case, but as long as the formatting is as I want it to be, it’s all good.
Got any additional quick and easy HTML tips to share? I’d love to read about them!
By Dawn Mentzer
Another Insatiable Solopreneur™ post
Leave a Reply